
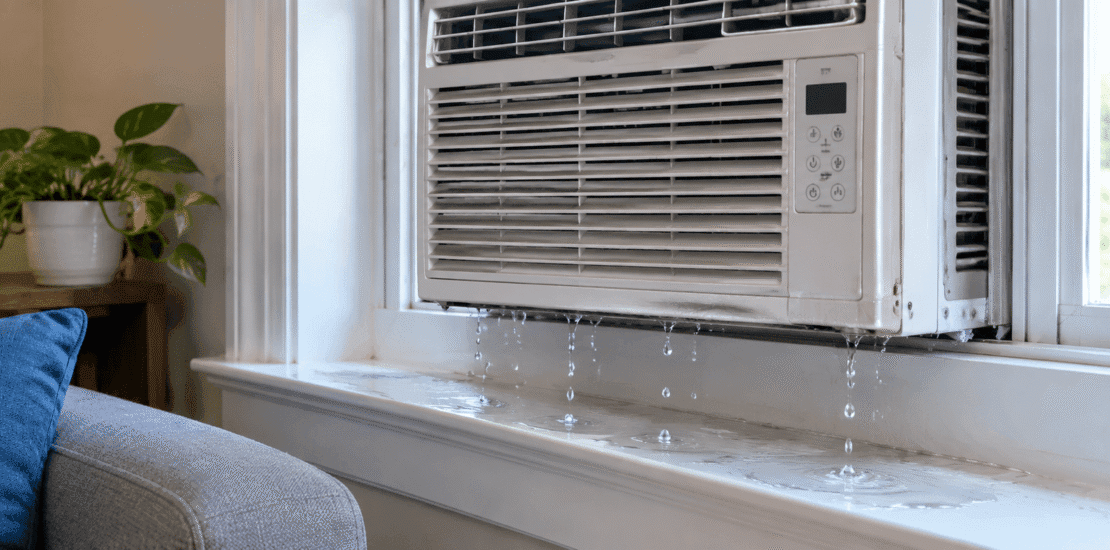
Why Is My Window AC Leaking Water?
Why Is My Window AC Leaking Water?
First, check which side the water is coming from — this alone tells you most of what you need to know.
- Dripping from the back, outside the house: this is normal. Every window AC removes moisture from the air as it cools, and that water is supposed to drain out the back. Unless it’s an unusually large amount, this isn’t a problem.
- Leaking from the front, onto your windowsill or the floor inside: this is the real issue, and it’s almost always one of three things — the unit’s tilt, a clogged drain hole, or ice built up on the coil that’s now melting faster than the drain can handle it.
If you have central air instead of a window unit, a similar-looking drip has different causes — see why water drips from a central AC vent.
Why This Happens
Every window AC pulls warm, humid air across a cold evaporator coil. The coil cools the air (that’s the point), and the moisture that condenses out of it is supposed to drain through a hole or channel in the back of the unit, out into the open air. A window unit leaking inside means something’s interrupting that path.
Check the Tilt First — the Most Window-Unit-Specific Cause
Unlike central AC, a window unit relies on gravity alone to move condensation out — there’s no pump. If the unit is level or tilted even slightly toward the room instead of away from it, water runs the wrong direction and drips inside instead of draining out.
The fix: the back of the unit should sit about 1/4 to 1/2 inch lower than the front — a slight outward tilt, not dramatic. Most units have adjustable mounting brackets or a sill support for this. If you can safely access the outside of the unit, check with a level or just eyeball whether the back visibly sits lower than the front. If it doesn’t, loosen the mounting bracket, adjust the angle, and re-secure it.
This alone resolves a leak that’s been happening since the unit was first installed — if it’s been dripping inside from day one rather than starting suddenly, tilt is the first thing to check.
Related Read: How Often to Service HVAC?
Check the Drain Hole and Pan
Underneath the coil, a drain pan collects condensation and channels it to a drain hole or short tube leading outside. This can fail two ways:
- Clogged with dust, algae, or debris — over time, this is common, especially in humid climates or if the unit runs for long stretches without cleaning. Water backs up in the pan and overflows toward the front instead of draining out the back.
- Cracked or physically damaged pan — less common, but a cracked pan leaks regardless of tilt or clog, and needs replacement rather than cleaning.
To check: unplug the unit, remove the front panel (consult your model’s manual for the exact release mechanism), and look at the pan with a flashlight. Standing water or visible debris in the drain hole is your answer. Clear it gently — a bent wire or a turkey baster to remove standing water works for most clogs; avoid forcing anything sharp through the drain hole, which can damage it.
Check for Ice on the Coil
If you see frost or ice on the coil itself (visible through the front grille with the panel off), the unit has been running cold enough to freeze condensation instead of draining it — and when it melts, that water often overwhelms the drain pan’s normal capacity, leaking out the front even if tilt and drainage are otherwise fine.
Two common causes of a frozen coil:
- A dirty air filter — restricts airflow across the coil, letting it get colder than it should. Pull the filter and hold it to a light; if you can’t see through it, clean or replace it.
- Low refrigerant — usually from a small leak, which also lets the coil run too cold. Weak cooling alongside the leak, or a hissing sound, points here. This isn’t a DIY fix — refrigerant work requires certification, and on many window units, recharging costs enough that replacement is often the more sensible option anyway.
What to do: turn the unit off and let any ice fully melt before doing anything else — running it with ice still present just adds more water to whatever’s already leaking. Check the filter while it thaws. If it’s clean and the coil refreezes within a day or two of resuming normal use, that points to refrigerant rather than airflow.
Related Read: How to clean ac coils inside house
Quick Diagnostic
| What you’re seeing | Likely cause |
| Dripping outside, behind the unit | Normal — no action needed |
| Leaking inside since day one | Incorrect tilt |
| Leaking inside, started recently, no ice visible | Clogged drain hole or damaged pan |
| Leaking inside, ice visible on the coil | Dirty filter (check first) or low refrigerant |
| Leaking inside, weak cooling, possible hissing | Refrigerant leak — needs a technician |
Preventing It From Happening Again
- Clean or replace the filter every 30-60 days during the cooling season
- Clear the drain hole/pan of debris at least once a season, more often in humid or dusty environments
- Re-check the tilt after any time the unit is removed and reinstalled (end of season storage is a common culprit for a tilt that “used to be fine”)
- Don’t let the unit run for extended periods with a visibly dirty filter — this is the single most preventable cause of the ice-and-overflow chain of problems above
When to Call a Professional
- The leak persists after you’ve corrected the tilt and cleared the drain
- You see ice reform repeatedly even with a clean filter
- You suspect refrigerant (weak cooling, hissing, or a leak that keeps returning despite a dry, unobstructed drain)
- The drain pan itself is cracked and needs replacement — this is usually a part-specific repair rather than a universal DIY fix, and often makes more sense to price against a full replacement given the age of most window units when this happens
Before committing to a pan replacement, it’s worth comparing that cost against replacing the whole unit, especially on an older window AC.